The Simple Secret to Removing Grease and Grime From Kitchen Cabinets
Kitchen cabinets work harder than most people realize. Day after day, they are exposed to steam, cooking oils, grease splatters, dust, and countless touches from hands that may be covered in food residue. Over time, even the cleanest kitchen can develop a stubborn layer of sticky grime that leaves cabinets looking dull, discolored, and older than they really are.
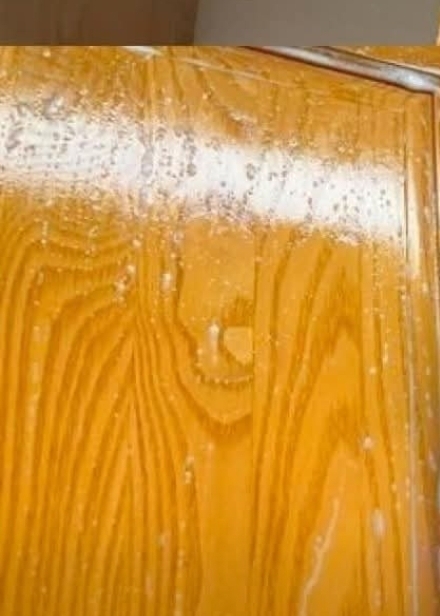
Many homeowners are surprised when they finally run a hand across a cabinet door and discover a tacky film that refuses to disappear with ordinary wiping. Fortunately, restoring your cabinets doesn’t necessarily require expensive cleaners or harsh chemicals. With the right approach, you can safely remove built-up grease and bring back their original shine.
Why Kitchen Cabinets Get So Dirty
The main culprit is airborne cooking grease.
Every time you:
- Fry food
- Sauté vegetables
- Cook meat
- Boil water
tiny particles of oil and moisture are released into the air.
These particles eventually settle on nearby surfaces, including:
- Cabinet doors
- Handles
- Drawer fronts
- Range hoods
- Backsplashes
Once grease lands on a surface, it acts like a magnet for dust, creating the sticky layer that becomes increasingly difficult to remove over time.
The Most Common Cleaning Mistake
Many people attack greasy cabinets with excessive force.
Scrubbing aggressively may:
- Damage finishes
- Remove protective coatings
- Create scratches
- Dull painted surfaces
The goal is to dissolve grease, not scrape it away.
A gentle approach is often far more effective.
A Simple Homemade Cleaning Solution
One of the easiest cabinet-cleaning solutions can be made with ingredients many people already have at home.
You’ll Need:
- Warm water
- Mild dish soap
- Soft microfiber cloths
Dish soap is specifically designed to break down grease, making it an excellent choice for cabinet cleaning.
Directions
- Fill a bowl with warm water.
- Add a few drops of mild dish soap.
- Dip a microfiber cloth into the solution.
- Wring out excess water.
- Wipe cabinet surfaces gently.
- Follow with a clean damp cloth to remove residue.
- Dry thoroughly with a soft towel.
This method works well for routine maintenance and light grease buildup.
For Stubborn Grease
If cabinets have accumulated years of residue, a stronger approach may be needed.
A paste made from baking soda and water can help loosen stubborn grime.
How to Use It
- Mix baking soda with a small amount of water.
- Create a soft paste.
- Apply gently with a cloth.
- Rub lightly in circular motions.
- Wipe clean with a damp cloth.
- Dry immediately.
Always test any cleaning method on a small hidden area first.
Don’t Forget Cabinet Handles
Handles and knobs often collect more dirt than the cabinet doors themselves.
These high-touch areas accumulate:
- Cooking oils
- Fingerprints
- Food residue
- Bacteria
Pay extra attention when cleaning:
- Drawer pulls
- Knobs
- Handles
- Touch points around edges
A small soft brush can help clean crevices.
Natural Vinegar Solution
Some homeowners use diluted white vinegar for greasy surfaces.
Basic Mixture
- 1 part white vinegar
- 1 part warm water
This solution may help cut through grease and remove residue.
However, vinegar should be used cautiously on certain finishes, especially natural wood surfaces, because prolonged exposure may affect protective coatings.
Cleaning Wood Cabinets Safely
Wood cabinets require special care.
Avoid:
- Excess water
- Abrasive pads
- Harsh chemicals
- Bleach-based cleaners
Moisture can penetrate wood and potentially cause:
- Warping
- Swelling
- Finish damage
Always dry wood surfaces immediately after cleaning.
How Often Should Cabinets Be Cleaned?
Weekly
- Wipe visible splatters
- Clean handles
- Remove fingerprints
Monthly
- Clean cabinet fronts thoroughly
- Check areas near the stove
Every Few Months
- Deep-clean all cabinet surfaces
- Clean upper cabinets where grease often accumulates unnoticed
Regular maintenance prevents heavy buildup from developing.
The Hidden Areas Most People Forget
Some of the dirtiest cabinet areas are often overlooked.
Remember to clean:
- Cabinet tops
- Areas above the refrigerator
- Cabinet edges
- Door frames
- Corners near the stove
These locations often collect grease for months or even years.
Preventing Future Buildup
The easiest cleaning job is the one you never have to do.
To reduce grease accumulation:
Use Exhaust Fans
Run the range hood whenever cooking.
Wipe Spills Quickly
Fresh grease is much easier to remove than old residue.
Maintain Good Ventilation
Open windows when possible.
Clean Frequently
Short, regular cleanings are easier than occasional deep scrubbing sessions.
Signs Your Cabinets Need Attention
You may notice:
- Sticky surfaces
- Dull appearance
- Darkened areas near handles
- Dust sticking unusually easily
- Strong cooking odors lingering on surfaces
These are signs that grease buildup may be present.
Final Thoughts
Kitchen cabinets quietly endure years of cooking, steam, grease, and daily use. While grime may seem impossible to remove once it builds up, simple cleaning methods using mild soap, warm water, and regular maintenance can restore much of their original appearance.
The key is consistency. Small cleaning sessions performed regularly prevent grease from becoming a stubborn problem and help keep your kitchen looking fresh, bright, and welcoming year-round.
Sometimes the secret to beautiful cabinets isn’t a powerful cleaner—it’s simply cleaning the right way before buildup has a chance to take hold.