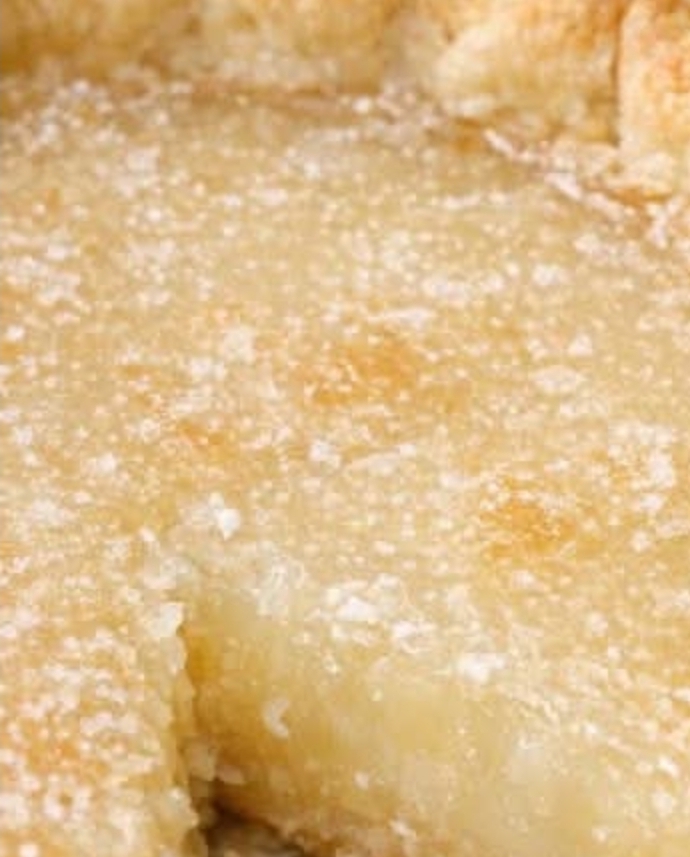
IntroductionWelcome to the delightful world of Southern desserts! If you’ve ever dreamed of a dessert that’s both simple and intriguingly delicious, then you’re in for a treat with this classic 3-Ingredient Water Pie. This pie, with its serene simplicity, is a nostalgic nod to vintage cooking, relying on just a few pantry staples to create something truly magical. Imagine a golden brown crust cradling a sweet, silky filling that melts in your mouth — it’s a slice of sweet history! Perfect for gatherings or a quiet night in, let’s dive into making this unforgettable pie.Ingredients1 (9-inch) unbaked pie crust, fitted in a glass pie plate1 ½ cups granulated sugar2 cups room-temperature waterPrep Time, Cook Time, Total Time, YieldPrep Time: 10 minutesCook Time: 1 hourTotal Time: 1 hour 10 minutesYield: 8 servingsDirections and InstructionsPreheat your oven to 400°F (200°C) and place a rack in the middle. To catch any drips from your pie, set your glass pie plate with the unbaked pie crust on a baking sheet.If your crust is very soft from sitting out, pop it in the refrigerator for about 10 minutes while the oven heats up. This will help it keep its shape!In a medium bowl or a large liquid measuring cup, whisk together the granulated sugar and room-temperature water until the sugar is mostly dissolved. You should see a sweet, shimmering mixture that’s brightening up your kitchen.Carefully pour the sugar-water mixture into the unbaked pie crust, filling it gently to avoid any splashes. This filling is where the magic happens!Now, slide the baking sheet with the pie into your preheated oven. Bake at 400°F (200°C) for 20 minutes to get things started.After 20 minutes, without opening the door, reduce the oven temperature to 350°F (175°C) and continue baking for another 30–40 minutes. You’ll start to smell the sweet aroma wafting through your home!If the edges of the crust are browning too quickly, loosely cover just the rim with strips of foil or a pie shield. This helps ensure a perfectly golden crust without burning!Once baked, remove the pie from the oven and allow it to cool on a cooling rack for at least 2 hours at room temperature. Patience is key; this waiting period allows the filling to set beautifully.Finally, slice the pie into 8 wedges using a sharp knife. It’s ready to be served at room temperature or warmed slightly. Any leftovers can go in the refrigerator and should be enjoyed within 3 days.Notes or TipsThis pie is incredibly versatile! Consider adding a sprinkle of nutmeg or cinnamon for a warm, spiced hug of flavor. If you have some on hand, a dollop of whipped cream or a scoop of vanilla ice cream also makes a lovely companion to this delightful treat. Just remember to keep an eye on the baking time, as ovens can vary! Your goal is that perfect, set filling with a golden crust.Cooking TechniquesPerfecting your pie crust is essential for this recipe. Make sure to fit the crust snugly into the pie plate to prevent any leaks. Chilling the crust before baking helps maintain its flakiness, so don’t skip that step! Additionally, when pouring the filling, do it slowly and carefully — we want that filling to stay right where it belongs. Lastly, always let your pies cool before slicing to achieve neat, beautiful portions.FAQCan I use a store-bought pie crust?Absolutely! A store-bought pie crust will save you time and still deliver delicious results.How do I know when the pie is done?The pie is perfect when the filling is slightly set in the center and the crust is golden brown. A gentle jiggle should confirm it’s ready!Can I freeze this pie?It’s best enjoyed fresh but you can freeze leftovers. Just wrap it tightly and store it in an airtight container to maintain its delicious flavor.ConclusionThis Southern 3-Ingredient Water Pie is a mesmerizing treat that showcases the art of simplicity in cooking. It’s not just a dessert; it’s a lovely reminder that sometimes the simplest recipes hold the most cherished flavors and memories. So gather your ingredients, embrace the process, and enjoy each sweet slice of history! Happy baking!
Southern 3-Ingredient Water Pie